


Balance for Jill
£220.00
Sold Out
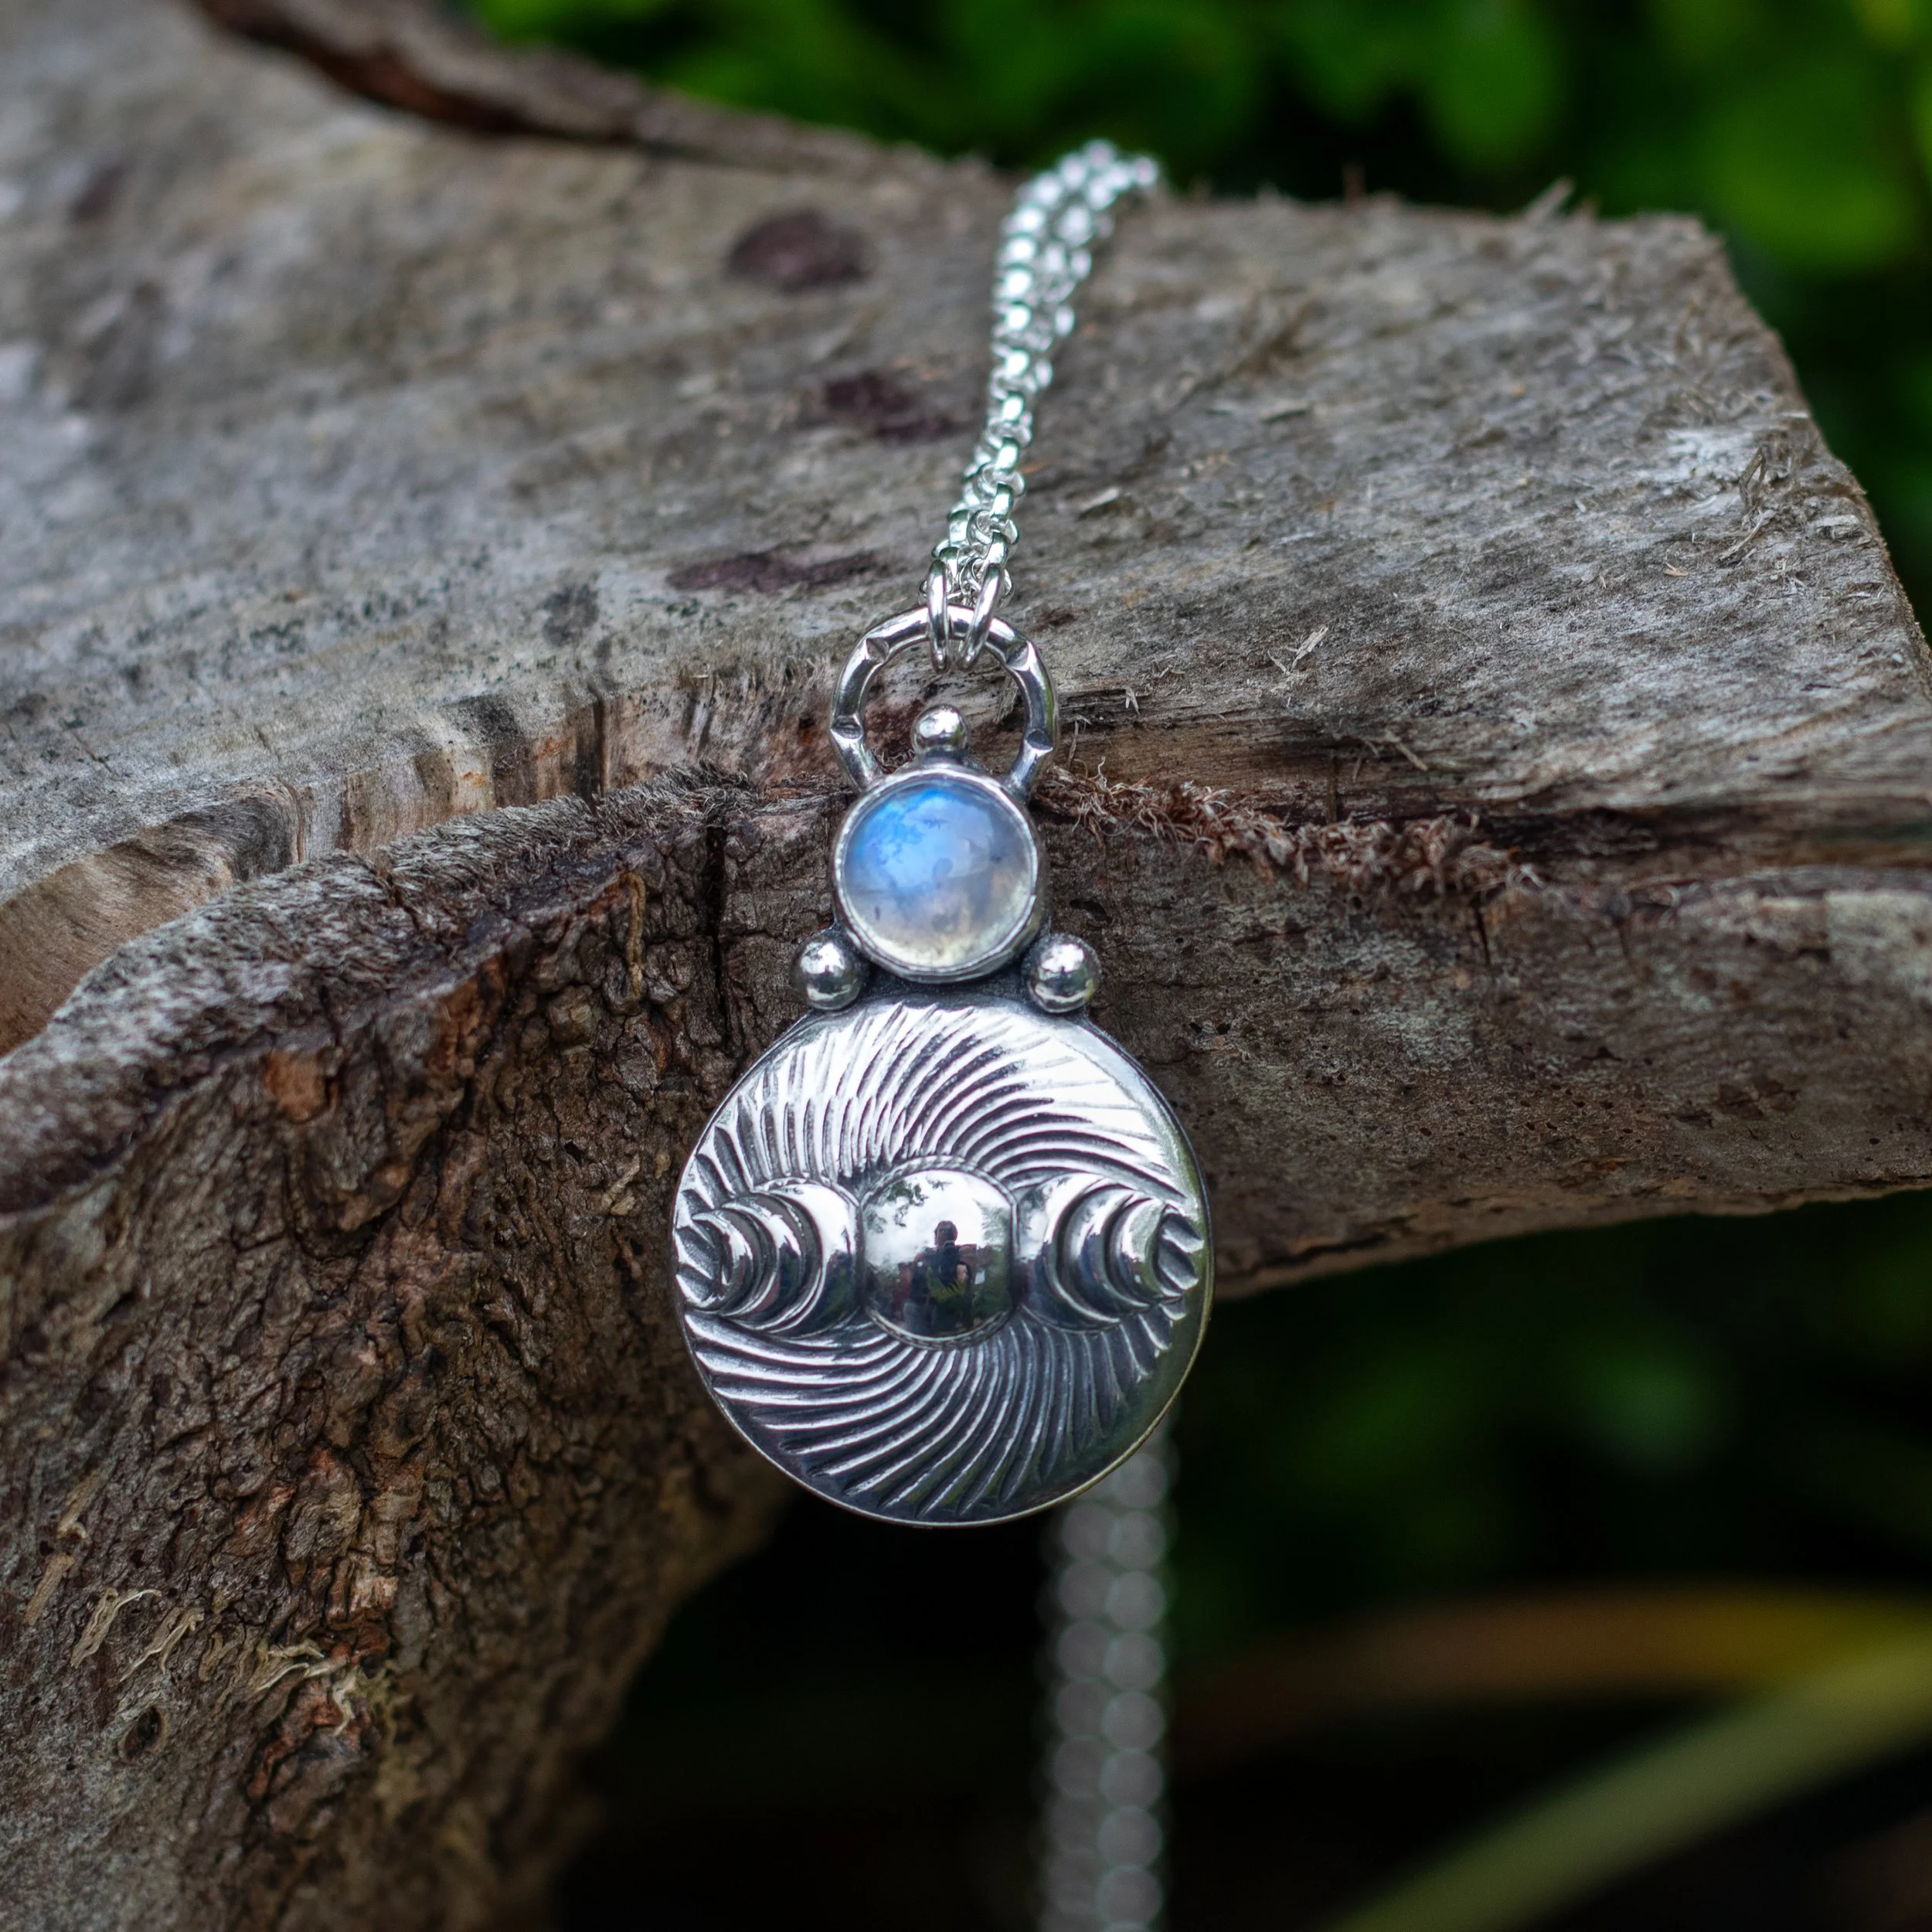
Moon goddess Necklace
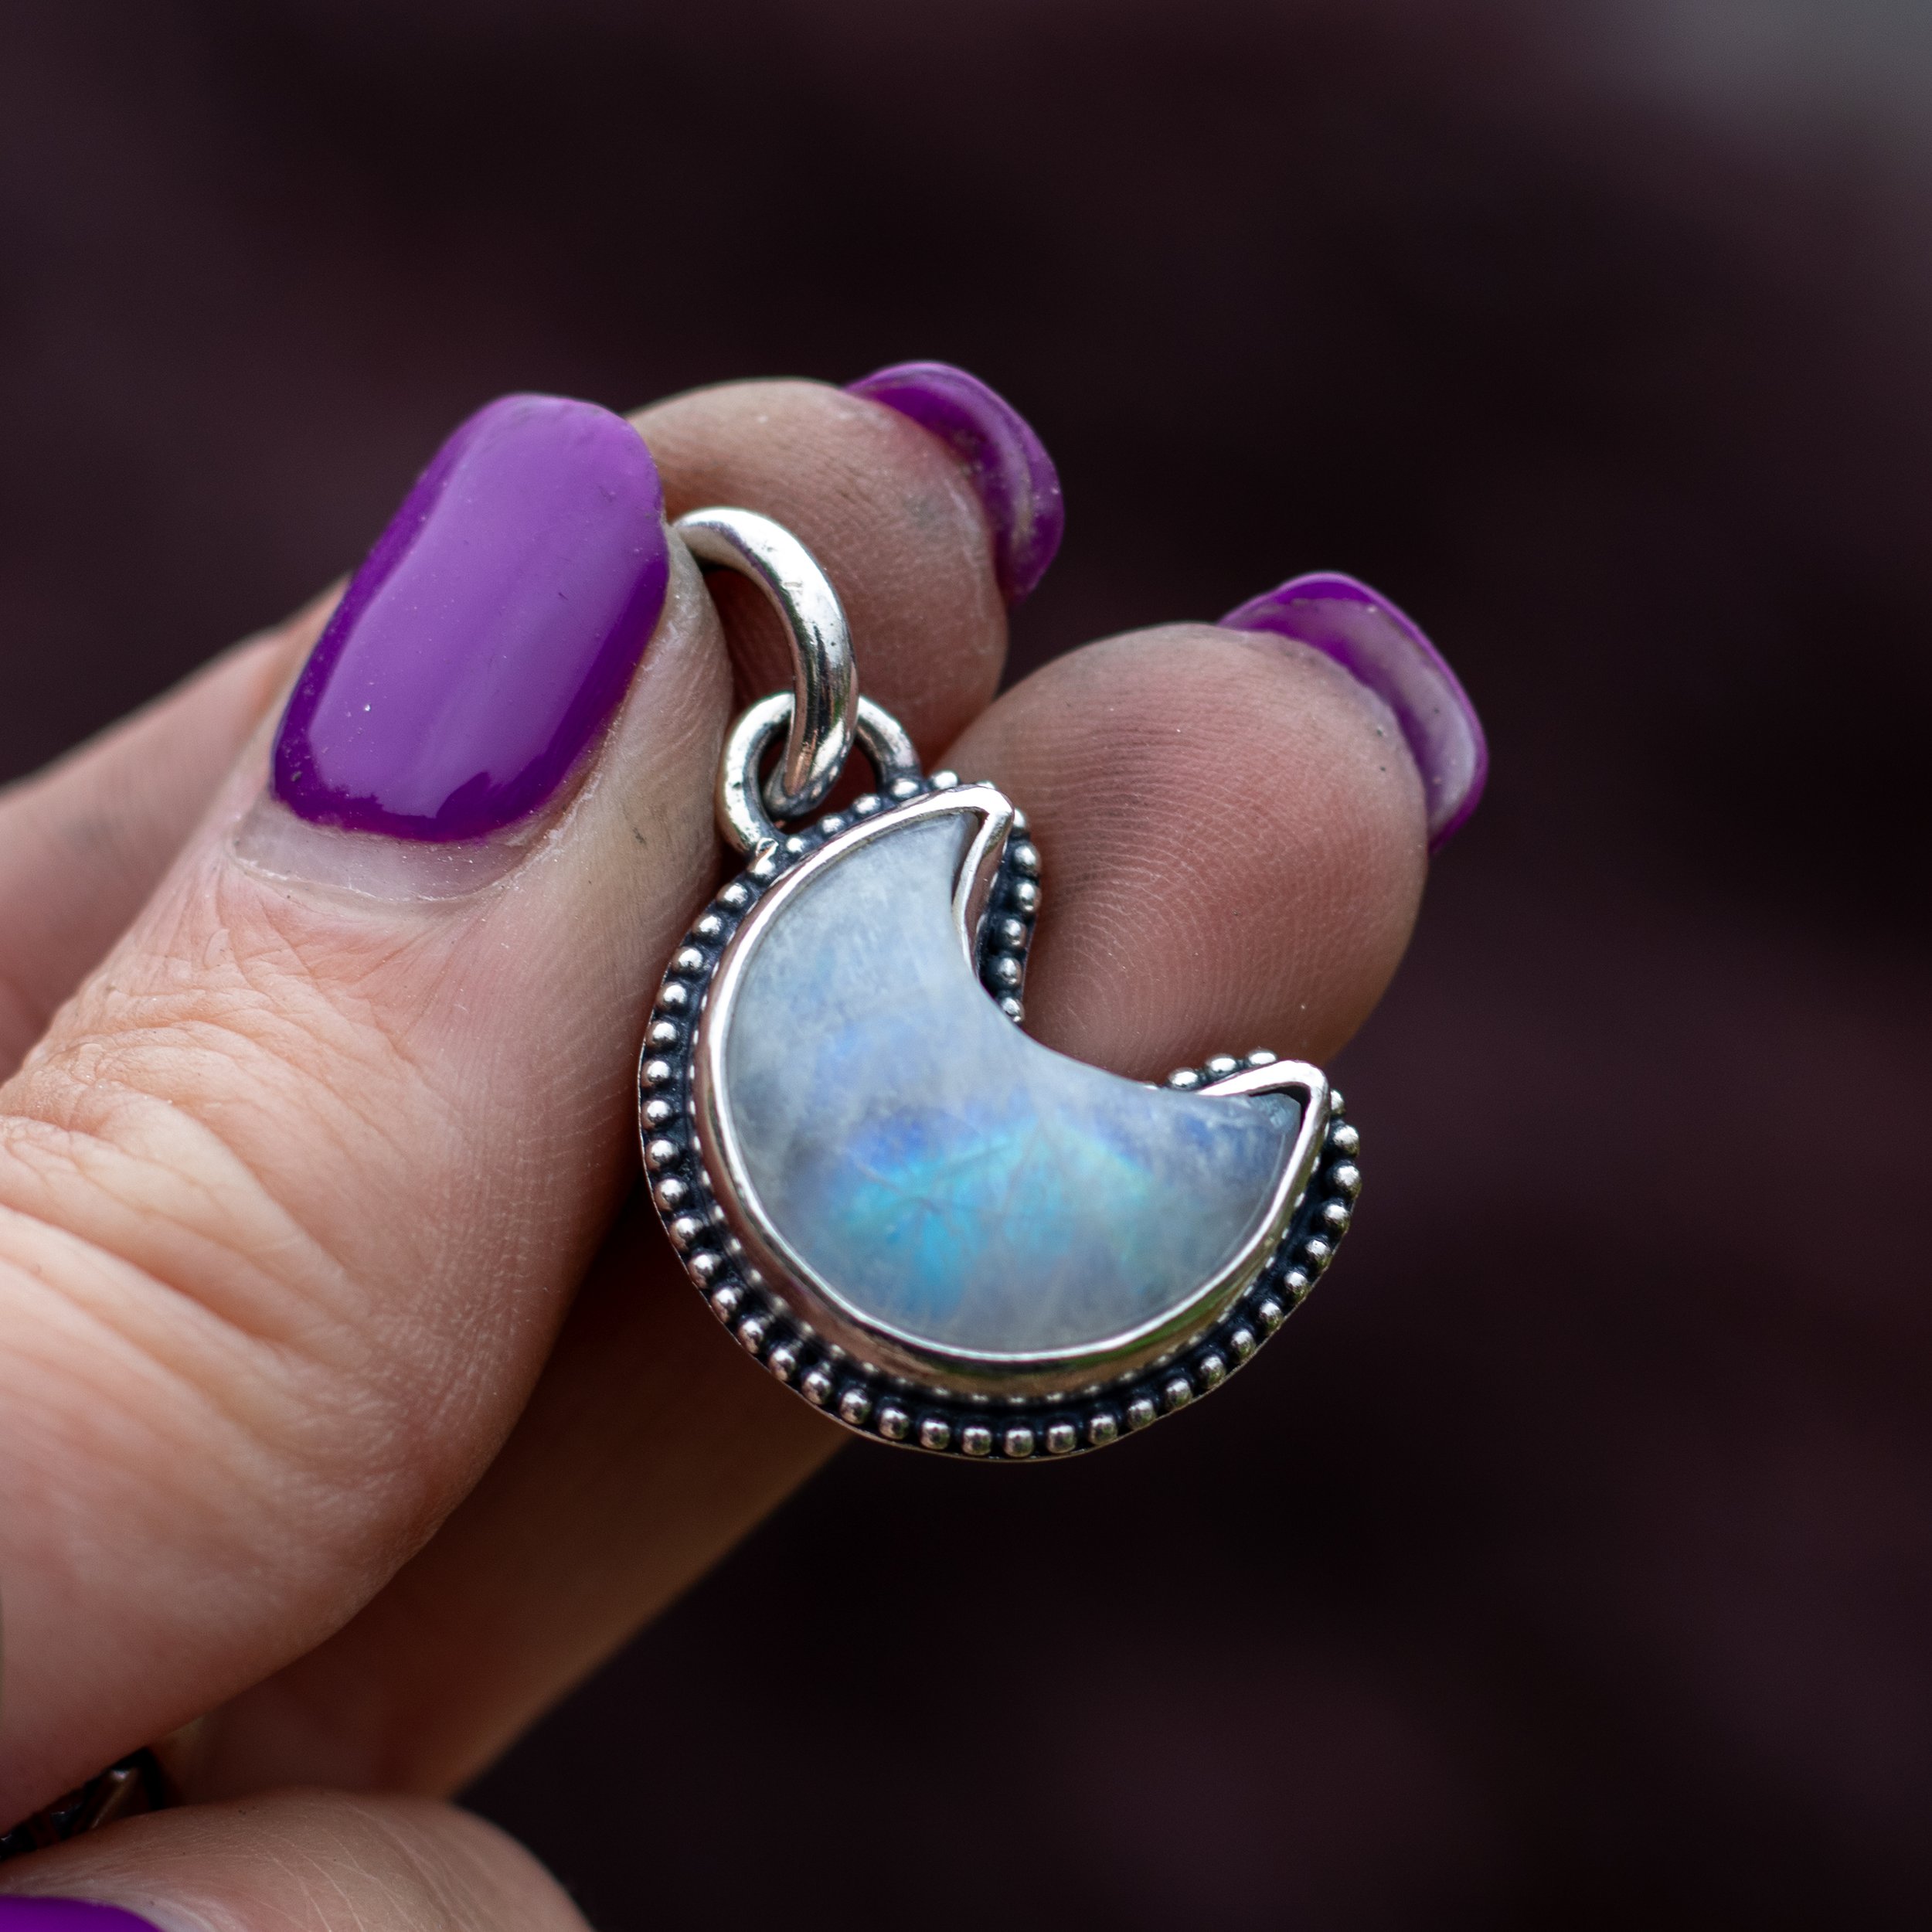
Moonstone Crescent charm
Moon goddess Necklace
Moonstone Crescent charm
Moon goddess Necklace
Moonstone Crescent charm
Moon goddess Necklace
Moonstone Crescent charm
Moon goddess Necklace
Moonstone Crescent charm
Moon goddess Necklace
Moonstone Crescent charm